You may notice that you cannot use USB drives with computers at your school, college or at workplace. The USB ports are disabled by the administrator to prevent the copying of important files and spreading of the viruses. You can do the same with your personal Window PC. If you have important files in your system and there is risk of data theft, you can consider disabling the USB ports. Another reason you may want to disable the USB ports is to prevent the attack of viruses through the USB storage devices. Most viruses and malware spread from one system to another through the USB flash drives. So, If you want to prevent the unauthorized copying of your sensitive data and want to keep your PC safe from viruses, you can disable the USB ports.
There are more than one way to disable the USB ports in Windows. But, I recommend you to use the registry editing method as it is simple and disable the USB ports for only storage media.This means this will disable the USB ports for the storage devices like USB flash drives, pen drives and USB hard disks only. You can still use your other peripheral devices like USB mouse, keyboard, webcam etc. You can still use your computer’s USB ports to charge your mobile and and other supported devices.
Disable USB ports in Windows
This registry tweak to disable the USB ports works for Windows 10, Windows 8 and Windows 7.
Note : As this tutorial involves editing of registry, I strongly recommend you to create a System restore before proceeding further. In case something goes wrong, you can always restore your PC to created restore point using System Restore.
Step 1. Click the Win key + R to launch the Run program. You can also launch it from the Start menu.
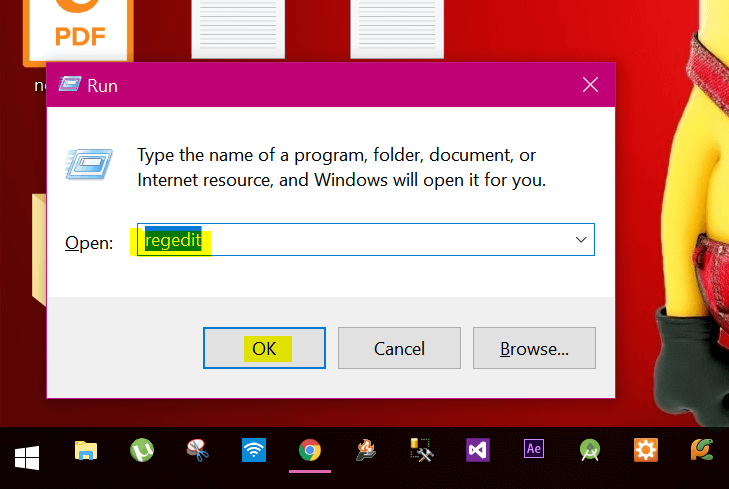
Step 2. Type regedit and hit enter. This will open the Registry Editor . Navigate to the following location :
HKEY_LOCAL_MACHINE\SYSTEM\CurrentControlSet\Services\USBSTOR
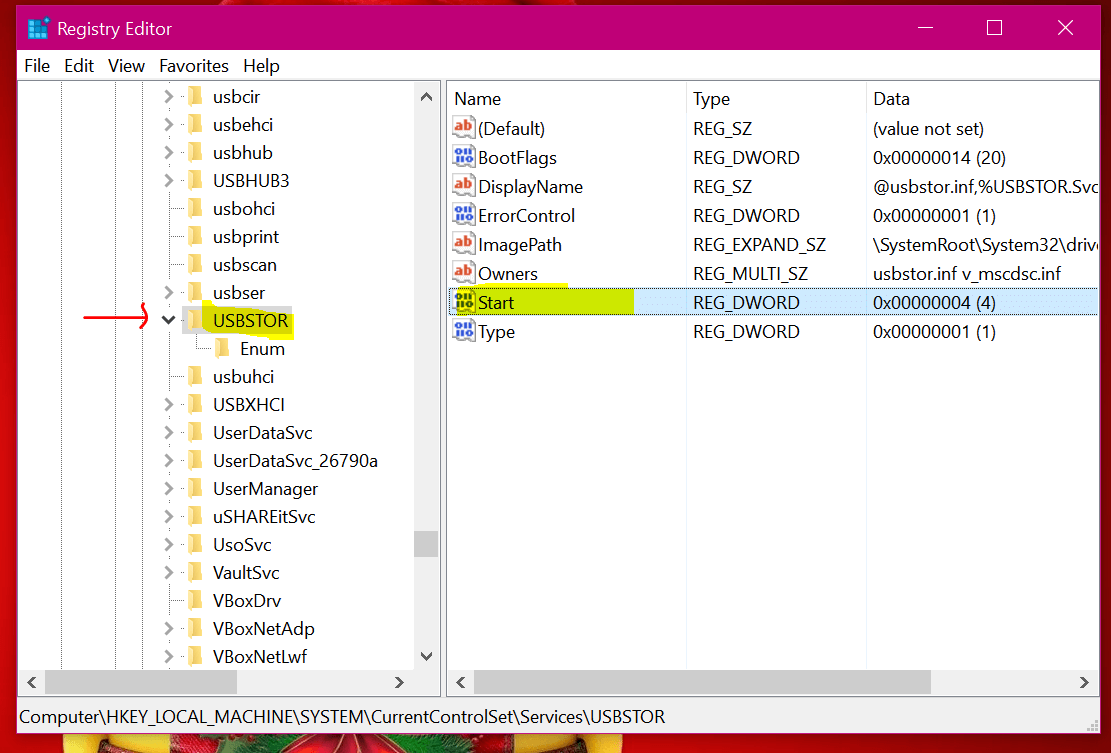
Step 3. In the right side panel, look for the Start and double click it.
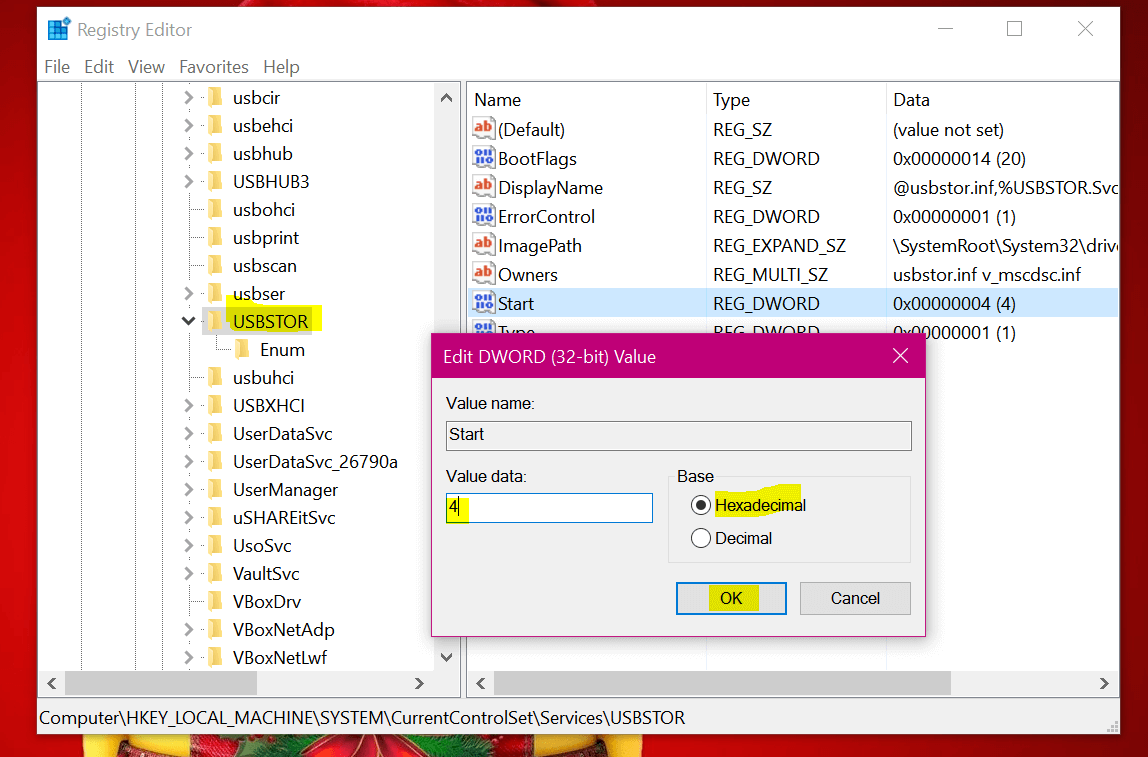
Step 4. In the Value data field, replace 3 by 4 and select the Hexadecimal checkbox(if not already selected). Click OK and close the registry editor.
Step 5. Finally, restart your Windows PC to make the changes effective. Plug in your flash drive in the USB port. Windows will detect the flash drive but will not show it in the explorer window.
When you need to enable the USB ports, follow the same procedure and change the Value of Start field back to 3. Again, you need to restart your system to effect the changes.