There are times when you need to run multiple instances of Windows OS at the same time. In the past, you have to either built a virtual machine or buy a new device for doing this. However, the running speed of virtual machine is much slower and it is not convenient to complete advanced task. Also, it is too expensive to build a new device with Windows for infrequent usage. That’s why Windows To Go comes into help.
What’s Windows To Go?
Windows To Go is a new feature introduced in Windows 8 Enterprise Edition and continues in Windows 10 Education and Enterprise. It allows you to run a portable version of Windows from external USB connected devices such as USB flash drive, portable hard drive and portable SSD.
One promising benefit is that you don’t have to buy a new machine and the running speed is much faster than virtual machine because it uses the same hardware on a computer it is connected to. Another advantage is that Windows To Go drive is ultra portable and you can put it into a pocket. So this is a great feature for business travelers who prefer a convenient way to run Windows 10 instead of holding a heavy laptop.
How to Create a Windows To Go Drive
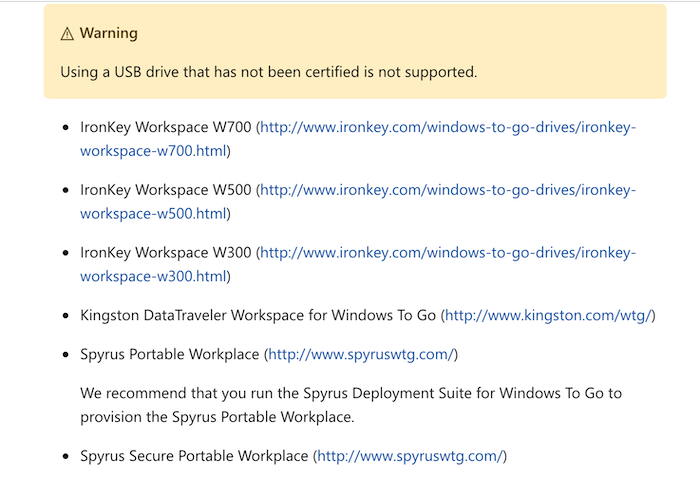
Ideally, there are two different ways to create a Windows To Go Drive. If you have access to a device that runs Windows 10 or Windows 8 Enterprise, then you can go with the built-in tool called Windows To Go Creator to create an instance of portable Windows 10 OS on an external USB. However, the USB drive is must be a certified one. Here is a list of certified USB drive from Microsoft website:

However, if you removed the limitation of above stock Windows To Go Creation software, then you can choose UUByte WintoUSB Pro instead. It allows you to create a portable Windows 10 USB drive from non-certified devices. And you can complete the task on Windows 10 machines, including Windows 10 Home, Pro, Family, Education and Enterprise Edition.
The process is simple. First, download and install UUByte WintoUSB Pro. Then, insert an USB drive into the computer. Next, open the software and pick up the target device. It can be a PC or Mac.

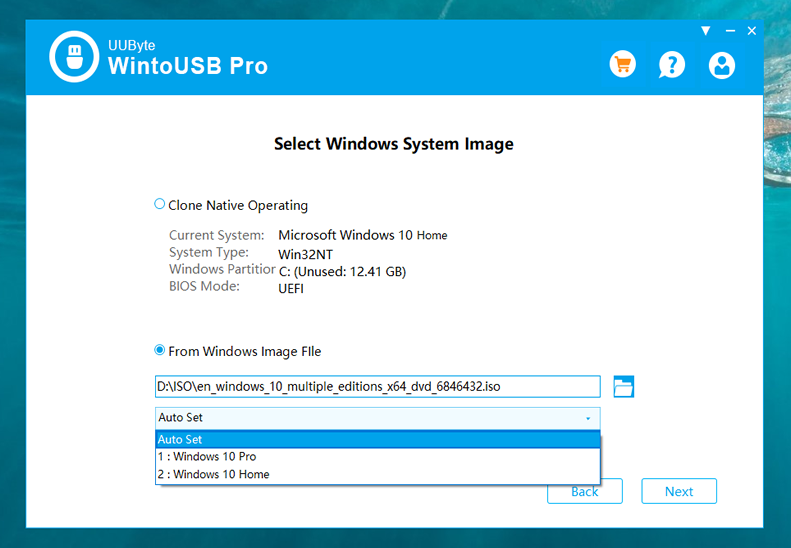
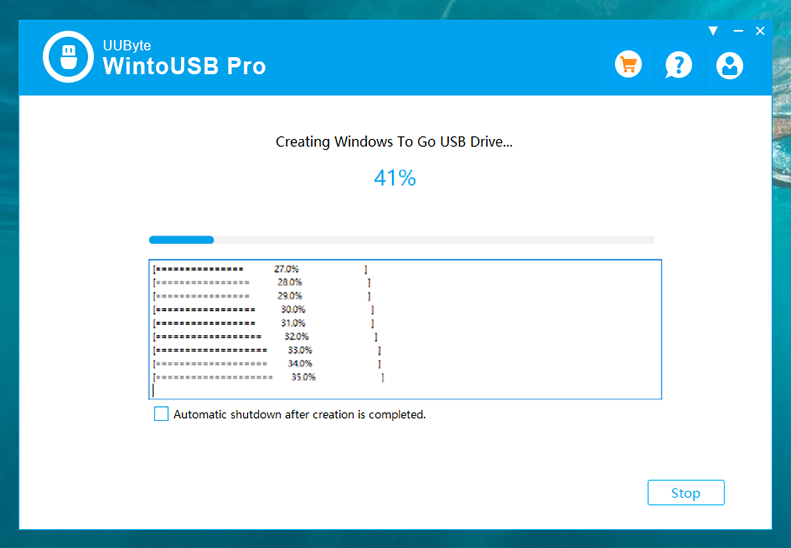
After that, import Windows 10 ISO image into the program and choose the USB drive letter. Finally, select the booting and setup mode. When everything is done as prompted, it is time to create Windows To Go USB from Windows 10 ISO. However, you have to wait about 10 minutes for task completion.

How to Run Windows 10 from Windows To Go Drive
Once you get a Windows To Go USB drive, the next step is to boot from it and install Windows 10 to that USB drive.
On Windows PC, you need to change the Boot Menu or boot settings in BIOS in order to boot PC from external USB drive. On Mac, you should press the Power button along with Option button to open Startup Manager, where you can choose the right device to boot from.
When the target computer boots from USB drive, Windows 10 installation will get started. Please follow the screen instructions to complete the installation process. After that, a new instance of Windows 10 is installed to USB drive. Now, you can run Windows 10 from USB drive without any problem!
Windows To Go is an amazing feature developed by Microsoft. If you want to run the same Windows 10 instance on multiple computers, then it is the ideal solution to achieve the goal.