Many a times we need to secretly store some private files on our PC. In Windows, we can simply hide the folder which contains our private files. But, in case there are many folders, it becomes difficult to hide each and manage them individually. The better option is to put all the files/folder in the single drive and then hide that entire drive. Hiding a drive in windows 10 is quite easy process. In fact, there are more than one way to hide a drive/partition in Windows, but here I am going to describe the simplest among them.
In Windows 10, you can hide a drive using Disk Management utility, Registry editing, Group Policy editing and with the help of command prompt. Editing the registry can lead to some system errors, so we will follow the Disk Management method to hide a drive. This guide is specific to Windows 10, but it is also applicable to Windows 7/8/8.1.
Hide a drive using Disk Management
- Press Win key + X and then choose Disk Management option to open the Disk utility. You can also open it by typing diskmgmt.msc in the Run program. This utility will show all the drives/partitions you have on your hard drive.
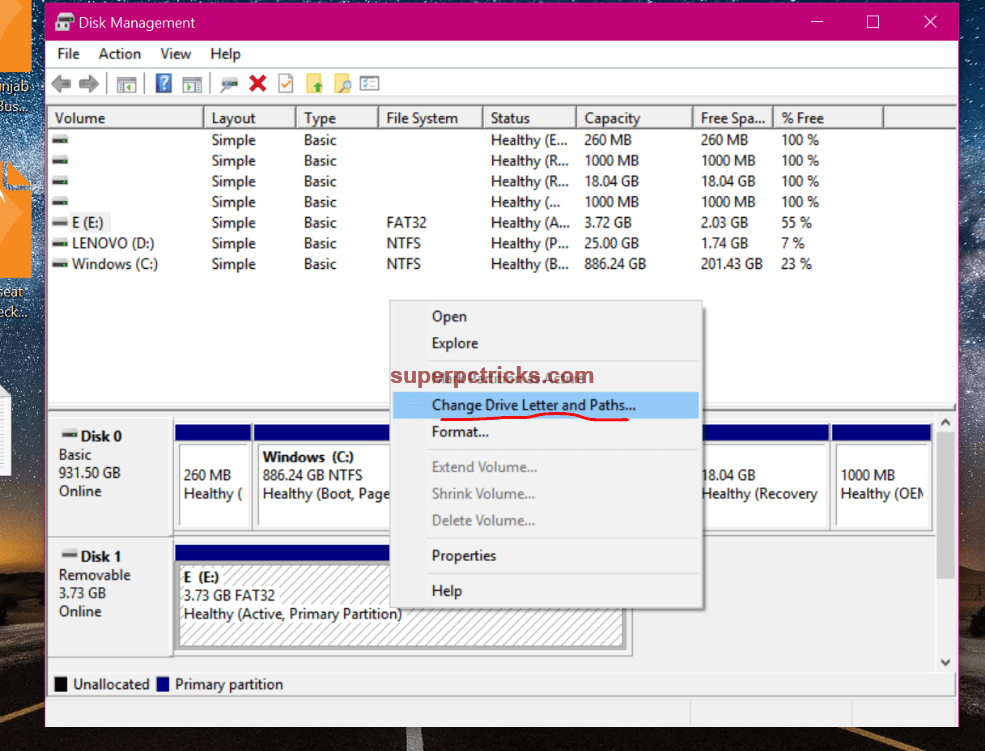
- Right click on that drive you want to hide from other users and select Change drive letters and paths.
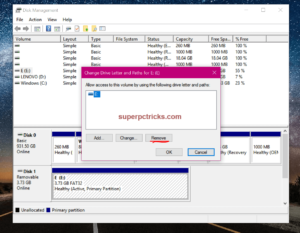
- Click on Remove. Confirm by clicking Yes and this will remove the letter associated with that drive. Now, open file explorer and you will notice that the drive is not visible.
- Next time you want to show drive or want to access content of the drive, follow the same above steps, but instead of removing the Letter, select Add option and assign any letter(which has not been already assigned to an existing drive).
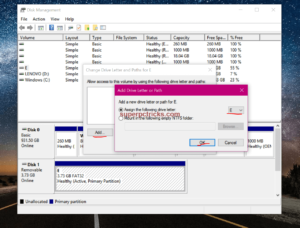
- Once you assigned a new letter to the drive, it will show in the explorer window with other drives and you can access it.
There is a problem associated with above procedure. Every time you need to see your files, you have to open Disk Management and then assign letter to drive and again remove it to make the drive invisible. To get rid of this long procedure, you can mount the drive in a folder and then can hide that folder using the view menu. Below is the guide to achieve this:
- After removing the letter associated with the drive, again right click on the drive and select Change Drive Letters and Paths.
- Select Add and then select Mount in the following empty NTFS folder. Click Browse and Navigate to the location where you want to mount the drive. You have to choose the folder on the other drives. For example, create a new folder on the C drive and select it.
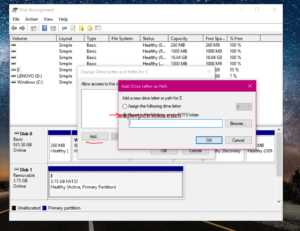
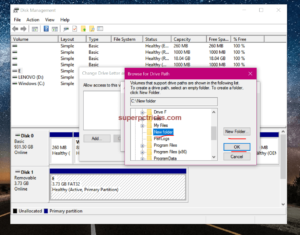
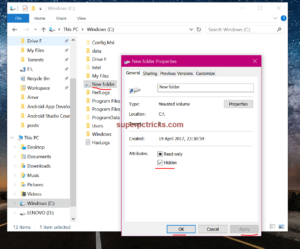
- Click OK to confirm. Navigate to the folder you chose in the above step and you can access all the files of the drive from there. Right Click on the folder, select Properties and mark the Hidden Checkbox. Click OK and then Apply to make the changes permanent. Also make sure Hidden items box in not checked in the View menu.
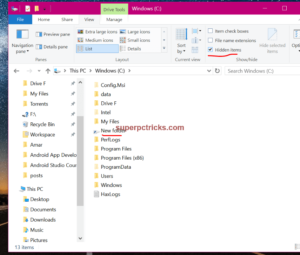
- When you want to see your files, just check the Hidden item checkbox and you will be able to see your drive (mounted as a folder).
- This is easy way because your drive will not appear in the File Explorer and you can still access the contents of the drive through the hidden mounted folder.
- When you need to undo the changes and want to see your drive, first un-mount the drive by clicking the Remove button and then assign a new letter to the drive.
Hiding a drive in Windows is useful when you want some drives invisible to other users. However, in no way, it locks or encrypt your drive. Your drive is still accessible to other users if they know how to hide/show a drive. Still it is better than hiding individual files/folders. Share your opinion with us by commenting below.