Sometimes when you install a new software or update your driver, your PC starts behaving abnormal. Your Windows OS might not starting up properly or there might be problems with its normal working. Its obvious that the problems are arising because of your latest software install or driver update. In such cases the best you can try is to try to uninstall the software which is causing the problem. But uninstalling the program might not work all the time. Also if your boot sector(the part of OS which starts up the PC) gets corrupted, you cannot even log into windows.
What is System Restore?
How to create a System Restore Point?
Creating system restore is very easy in both windows 7 and windows 8 and almost involve same steps. So when you are not sure what you are going to do with your system, it is better to create a restore point before experimenting. Here is step by step guide how to create system restore point.
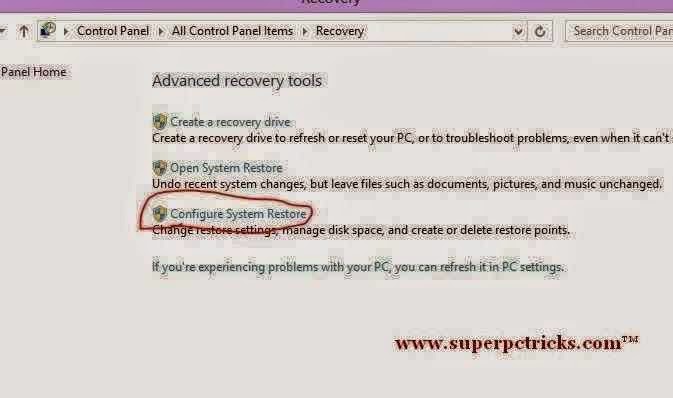
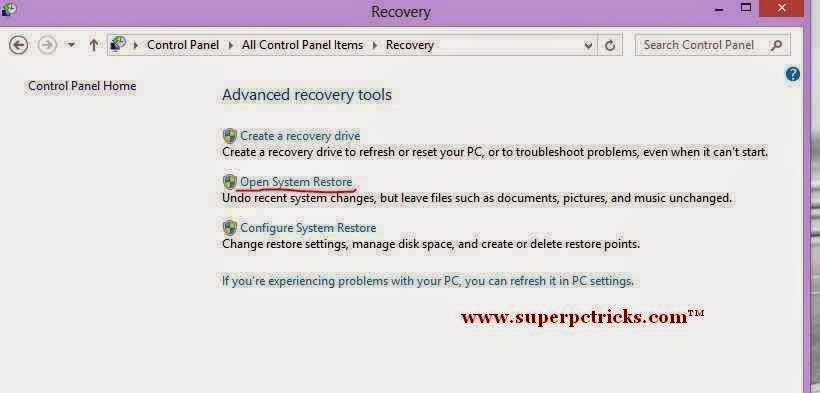
1. Open Control panel and navigate to Recovery. In Recovery window choose Configure System Restore.
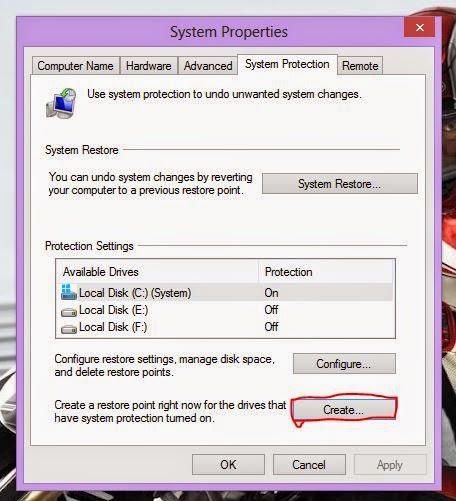
2. In the System Properties window, click on Create to create a system restore point. It will ask you to write a name for the restore point. Choose some relevant name so that you can easily identify the restore point. For example if I am creating restore point before installing XYZ program, I can write Installation of XYZ. Click Create.

4. Now you are free to make changes to computer because in case something went wrong, you can restore your PC to this previous state.
Using the system restore point to revert to previous working state:
Now imagine after installing the XYZ program, your PC is not working properly and is in unstable state. Don’t worry, you can revert back to normal working state using the restore point you have created. Follow these steps to restore your system.
1. Again go to Control panel and open Recovery. Click Open System Restore.
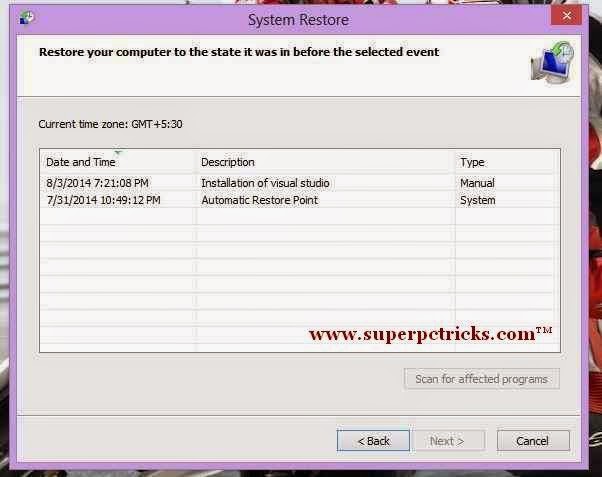
2. Click Next and it will show you all system restore points with their time and date of their creation. It will also show you whether restore point is created automatically by system or manually by you.
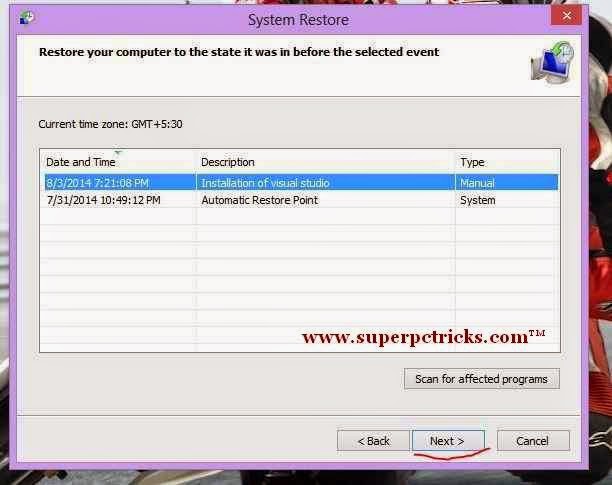
4. Click Finish to confirm your restore point.
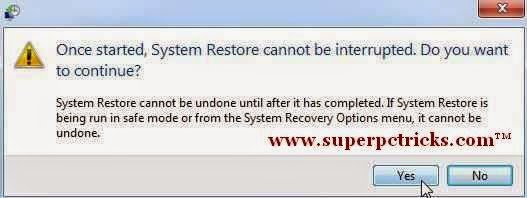
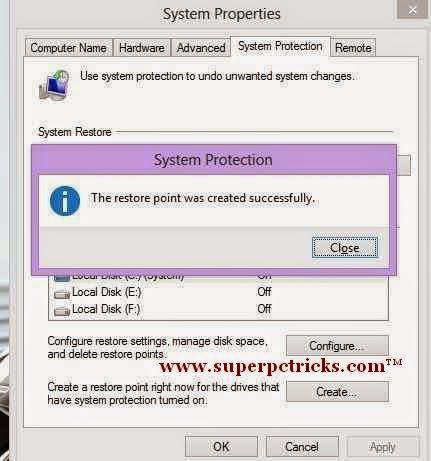
6. After clicking Finish your System will restart (it will takes sometime to restore system files to previous state) and it will show you a message that system restore has completed successfully.
Which Files are affected by System Restore:
System restore will affect only Windows system files and your personal files like pictures, videos and documents remains intact. So you do not need to worry about loosing your personal data.
What System Restore Takes For providing restore points:
As system restore creates backup copies of important system files, it takes your hard drive space. That’s why some users complaint about their continuously decreasing space on C drive even if they do not install any new programs. But you can specify the maximum space System Restore can take. In order to specify the maximum space for System restore follow these steps:
Most Useful Keyboard Shortcuts For Windows to Enhance Productivity
1. Select Configure system Restore in Recovery Window. It will show you all the drives on your system and also which of them are used by system restore to create restore points. As you can see, in my case , Only Drive C space is being allocated to system restore.

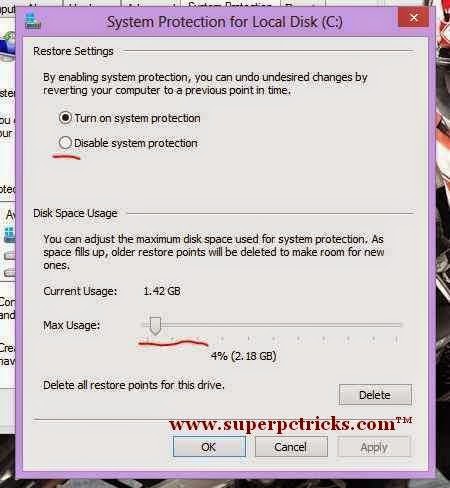
3. System restore automatically deletes old restore points to free up the space and creates new ones .
The good thing about System Restore is you can even run it in Safe mode. When your cannot startup your system, you can choose Safe Mode by continuously pressing F8 and then restore your system using System restore. In this post I tried to explain almost everything about System Restore. Still have questions, ask in comment section.